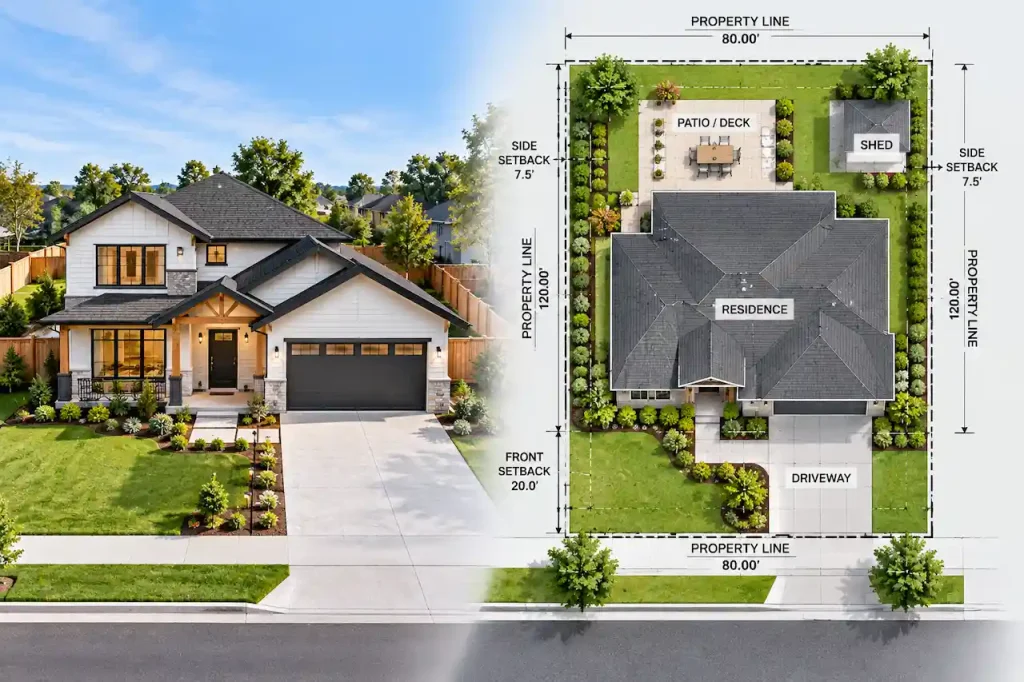

You submitted your permit application. A few weeks later, your plans come back from the building department — covered in red ink, circles, arrows, and comments you may not fully understand.
Red markups are a correction notice delivered visually. Every mark has a specific meaning, and your resubmission must address every single one. If you’re unfamiliar with how this stage fits into the overall Site Plan Review Process, it’s important to understand that revisions are a normal part of approval.
I’m Engineer Wasim of Site Plans Online USA. My team reads and responds to city red markups every day. Here’s how to interpret them.
What Red Markups Actually Are
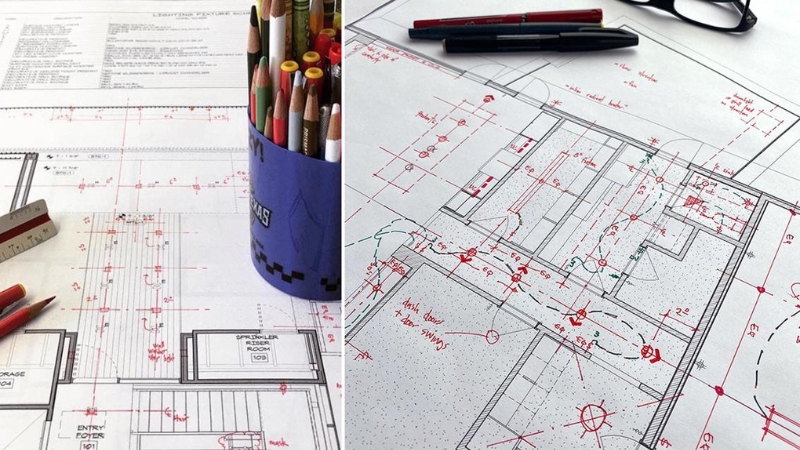
When a plan reviewer evaluates your site plan, they mark up the PDF (or physical copy) with corrections, questions, and missing-item callouts. The markings are typically in red — hence “red markups” or “redlines.”
Red markups don’t mean your permit is denied. They mean: fix these specific items and resubmit. Most projects require at least one round of corrections. If you’re wondering Why Site Plans Get Rejected, these markups often highlight the exact issues that need to be resolved.
The 7 Most Common Red Markup Types
1. Dimension Arrow with “MISSING” or “PROVIDE.”
What it means: A required dimension isn’t labeled. Most commonly: setback distance from proposed structure to property line.
How to fix: Add the exact dimension in feet. All four setbacks must be labeled — front, rear, left side, right side.
2. Circle or Cloud Around an Area with a Note
What it means: Something in that area is incorrect or missing. The note explains what — typically “show existing structure,” “verify setback,” or “incorrect scale.”
How to fix: Read the note carefully. Address the specific item called out. Draw a revision cloud around your correction on the resubmission.
3. “NOT TO SCALE” or “NTS” Called Out
What it means: The reviewer can’t verify dimensions because the plan doesn’t appear to be drawn to the stated scale.
How to fix: Redraw the plan at a true, consistent scale. Include both the written scale (“1″=20′”) and a graphic scale bar.
4. “MISSING NORTH ARROW.”
What it means: The north arrow is absent or unclear.
How to fix: Add a clear north arrow labeled “N” or “North” in a consistent corner.
5. “SHOW ALL EXISTING STRUCTURES.”
What it means: The reviewer has identified (usually from satellite imagery or GIS) a structure on your property that doesn’t appear on the plan.
How to fix: Walk the property. Add every structure — including sheds, patios, driveways, fences, secondary buildings — with dimensions.
6. “PROVIDE IMPERVIOUS SURFACE CALCULATION.”
What it means: The lot coverage or impervious surface percentage hasn’t been calculated, or the calculation is missing.
How to fix: Calculate total hard surfaces (house + garage + driveways + patios + new construction) divided by lot area. Show the math on the plan.
7. “PE STAMP REQUIRED.”
What it means: Your project requires a licensed Professional Engineer to review and seal the drawings. A non-stamped plan won’t be accepted.
How to fix: Get a PE stamp. See our PE Stamp Services.
How to Respond to Red Markups on Resubmission

This step is where many applicants make mistakes that trigger another round of review:
Cloud every change. Draw a revision bubble (a cloud-shaped outline) around every element you’ve added or changed. Reviewers do not re-read the entire plan — they look for clouds. Following a proper Construction Site Plan Checklist can help ensure nothing is missed.
Add a revision delta. Place a small triangle (delta symbol) with the revision number near each cloud. Include a revision block in the title block listing: revision number, date, and brief description. Make sure your updates align with standard Site Plan Drawing Requirements.
Write a response letter. Number each correction from the original markup. Write how you addressed each item. Submit this with the revised plans. This step is critical if you’re trying to Fix My Rejected Plan and avoid repeated delays.
Don’t change anything that wasn’t marked. Changing non-marked items without noting them can create confusion and trigger questions.
What If You Don’t Understand a Markup?

Contact the building department directly and ask the plan reviewer to clarify. Most jurisdictions allow pre-correction clarification calls. This is faster than guessing and resubmitting incorrectly.
Or send us the marked-up PDF. We read plan review comments daily and can tell you exactly what’s being asked. Use our Permit Rejection Analyzer to paste the text of comments, or contact us directly with the marked-up file.
Take the Next Step With Confidence
Avoid unnecessary delays and prepare for your permit application with greater confidence. Use our free tools to review your project and understand the next steps before moving forward.
ADU Feasibility Checker
Check whether your property may be suitable for an accessory dwelling unit.
Check ADU Feasibility 02Site Plan Checker
Review your drawing for common missing details and potential submission issues.
Review Your Site Plan 03Permit Requirements Checker
Identify the likely permit requirements for your location and project type.
Check Requirements 04Site Plan Cost Calculator
Get a quick site plan cost estimate based on your project requirements.
Calculate Your CostGet Your Permit Drawing Scope Reviewed
Send us the property address and project details. We’ll help identify the likely drawing scope and next step.

Engineer Wasim
Civil/Structural Engineer and founder behind Site Plans Online USA. His permit-drafting experience dates back to 2015, supporting residential, commercial, structural and site-development projects.
Learn More About Site Plans LLC →